Showing posts with label wind waker. Show all posts

Thursday, July 21, 2011

Wind Waker Chapter 10: Did I Win?

Yes. Yes, I did.

I used a lot of italics and other font buggery this time, so if you're reading this on Facebook, go to the bottom of this post and click "View Original Post" if you don't want to have to deal with weird HTML sticking out all over the place. Also, this post is really long to make up for the shorter ones I've been posting lately!

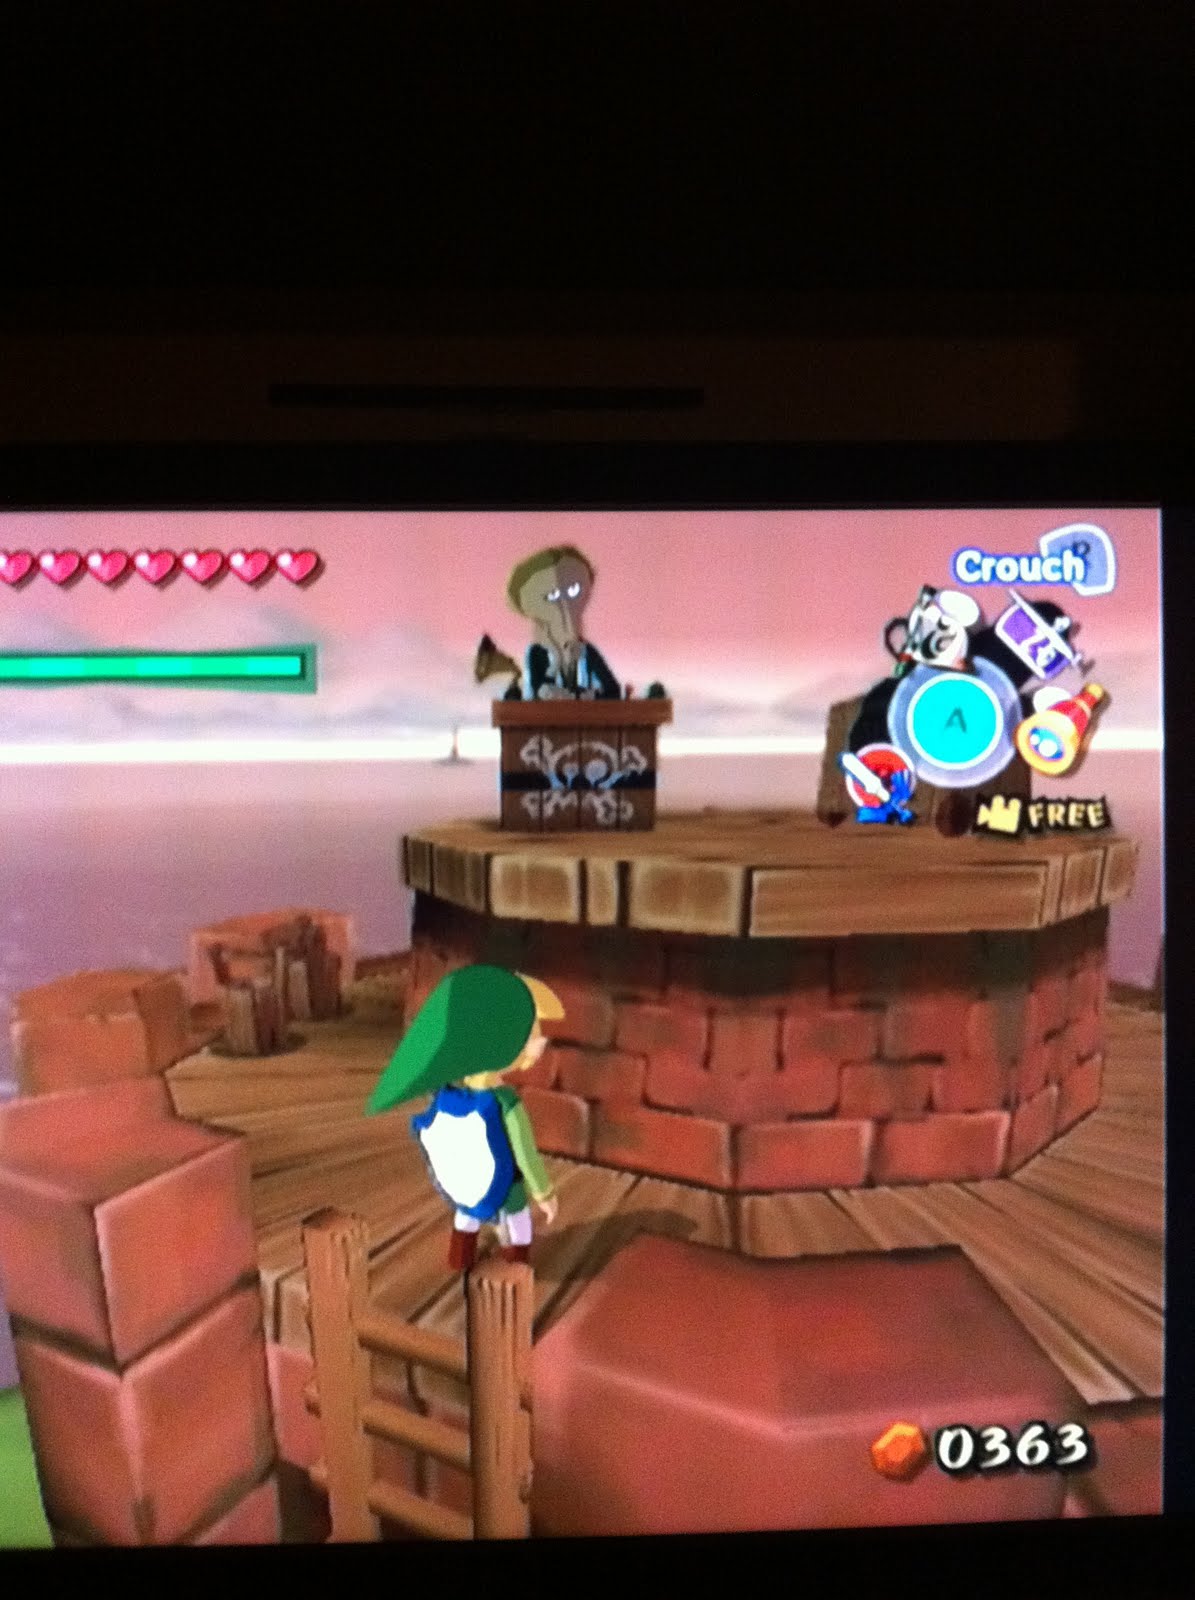
Okay, anyway. First I had to stop at Windfall Island. I was one Heart Piece short of another Heart Container, and I was going to get that Heart Piece by hook or by crook. So I bought a whole bunch of Town Flowers and decorated the island with them. It actually didn't take as long as I thought it would.

I wonder what the villagers were thinking while all this was going on. "Why's that kid putting up those ugly flowers everywhere? Ugh, not the Joyous Volunteer Association again. I thought they learned their lesson last time we had to burn down all those overgrown weeds."

And of course, Zunari was over the moon that someone was actually buying his crap. The joke's on him, though, because I only bought the 10-rupee flowers from him instead of wasting my rupees on pinwheels. That's what you get for putting those pedestals up and expecting someone to put only the most expensive stuff in them!

Anyway, once I had my last Heart Piece, it was time to warp to Tower of the Gods, while the completionist in me gently wept.


Once I got there, I had to show my piece of the Triforce to gain admittance. Hey, if you claim to be the Hero, you gotta have the goods, yo.


The gods can't have any false Heroes up in here, or all hell would break loose. There'd be banana hammocks everywhere!

Sorry, I went all J.D. on you for a second. I'll try to keep that from happening in future.


So the gods accepted my proof of being the Hero and opened up the way to the bottom of the sea. I'm not sure why it didn't just stay open from last time, but whatever.

After that, the King of Red Lions happened to notice the Triforce of Courage shining on the back of my hand and went all magnanimous.


What's that? I'm the hero, you say?


Why don't you say that so the adoring crowds assembled here the...water, and... seagulls can hear you?


And as the triumphant music swelled, I knew I had secured my place in history as the Hero of Winds, having proved to this desolate world that there was a future for pointy-eared freaks like myself. As the crowds seagulls cheered, the game faded to the credits, as surely I had accomplished all that was required, and had ensured that everyone would get to live happily ever after...

Wait, what's this? I don't even get to bask in my own glory for two seconds before you tell me I have to go back to Hyrule and check on the princess? FINE. WHATEVER.

Upon entering the castle, I found this travesty:


Oh, it's on.

Turns out the whole castle was vandalized. I guess Ganondorf just told his minions to go nuts on the way out. How do I know it was Ganondorf? Because when I got into Zelda's super-secret hiding place, she disappeared right in front of my eyes and then Ganondorf dropped two uber-Darknuts into the room and made me fight them. Of course, since I'm the exalted Hero of Winds, dispatching them was a piece of cake.

Afterward, I had to run straight out to Ganon's Tower to rescue Zelda, because apparently going back and finding an adult to deal with the problem is just not done. Why is saving the world always on the backs of children in this world? How depressing would that be? If you manage to grow up to be an adult and didn't manage to do any world-saving as a kid, your life is pretty much over.

Okay, anyway. Once I exited the castle by the back way, I encountered a magical shield blocking my path. Being the hero, I blundered right into it thinking it would just give way to my awesomeness. Not so much, it turns out.


You can kind of see the barrier in the above picture. Well, whatever. I hit it with my shiny sword and BAM! It turned into glass, or something, and shattered.


The result? A slightly less dark path to run down. Okay, cool.

So, I continued down the path, encountering progressively stronger enemies as I did so. I'm not really sure why Ganondorf would bother putting ChuChus in my way. I mean, what's the point? He did put another fancy Darknut right in front of the entrance to the tower, but all that did was slow me down a little. But then, nothing Ganondorf does ever really makes sense. All he'd have to do is make his minions not drop the things I need to beat him, and he'd win.

Once I got into the tower, I found myself in a room full of lava, rope bridges, and doors to other rooms. I had no memory of this at all. Then I remembered: you have to beat all of the game's bosses again to get into Ganondorf's lair. That doesn't remind me of Okami at all. I mean, Okami doesn't remind me of every Zelda game ever made at all. Or...something.

No, wait. I had to re-beat all of the game's bosses except the one in Tower of the Gods. I...guess that makes sense.

Well, whatever. I pressed onward.


You're supposed to be able to see Jalhalla in that picture, but everything's in black and white, plus he's see-through, so...yeah. Yay for the lantern!

I had to make my way across this room before I could get to the Kalle Demos re-hash. What fun!


Then, of course, I fought the boss again in glorious black-and-white (You can see it this time!)


Hmm. I just noticed the picture is tilted somewhat. Well, I guess that's what happens when you try to take a picture of oncoming death with the camera in both hands and the controller balanced in the crook of your arm. But the boss died eventually, so there's that.

Get a look at the next boss's Clue Tongue in black-and-white! Totally cool, right?


He managed to eat me at least four times, but at least he didn't get me with the tongue.

Here's a rare action shot of me being set on fire by Gohma, or Armogohma, or whatever its name is in this game.


So dignified. He flies through the air, in flames, with such grace.

And here's the perpetrator!


After I had all four bosses beaten, the magical door opened and I was able to enter Ganondorf's inner sanctum. The first place I encountered was a really long stairway with occasional landings. On each landing were some weak minions! As before, they fell before the might of my blade, and I made it into Ganondorf's inner-inner sanctum. After solving a puzzle involving candles and some switches, I made a scary-looking dark portal appear.


Apparently it's a portal back to the overworld. I have never, ever used this. I mean, why would I want to go into that? The King of Red Lions says Ganondorf "seeped" into the world above, like he's made of liquid or something. Do I want to "seep" back into the overworld? I don't think that's something I really want to risk right now. You know, since the future of the whole world depends on my success.

I decided to proceed to the room that had the switches in it, which contained a helpful reminder that the swords of Ganondorf's minions point the way to go. I'm not really sure why Ganondorf put this here if he didn't want me to succeed. Well, whatever. I leaped into the apparent abyss and was immediately attacked by a Phantom Ganon. I dispatched him in one hit, and went through the doorway his sword pointed to. Rinse and repeat about six times until I found what seemed to be the ultimate Phantom Ganon, who gave me THIS when he died!


This would have been useful a lot earlier in the game. But I guess it's kind of tradition by now to not give you Light Arrows until the game's almost over.

After I was done gloating over my newest prize, I decided to take a minute to gloat over my vanquished enemy's sword.


Then I went through the door the sword was pointing at, which happened to lead to the main room...where I was attacked by Phantom Ganon again. Huh. I guess the last guy was just the second-most-awesome Phantom Ganon. "Well, I'll just have to kill him again," I thought. I fought valiantly for about ten minutes, losing hearts like crazy and wondering why nothing I did to him was having any sort of effect, until the MASSIVE CLUE I got in the previous room finally beat its way into my head, and I shot him with a Light Arrow. He died immediately. Well, cool.

To get through the next door, I had to pick up the Phantom Ganon's dropped sword and hit the last remaining door with it. Being the awesome player I am, I wandered into two of the other rooms trying to figure out what I missed vanquished the door and went into the next room. I've already forgotten what was in the next room, except this ominous door at the end, which had two even-more-fancy Darknuts waiting for me right in front of it.


The next room was like something out of Sleeping Beauty. I struggled my way across the shiny water toward the bed...


...saw Zelda sleeping...


...and was then interrupted by Ganondorf being all broody.


He babbled about the gods abandoning us, and Hyrule being destroyed, and a few other things for a while, and then basically told me that since I got past all his other obstacles, I was truly the Hero of Time reborn, and, "Don't screw this up."


I may have paraphrased that a bit.

He told me not to screw things up. Then he turned into a giant puppet. I can tell this is going to end well!


I couldn't remember what to do for this boss. What else is new? I stumbled around for a while avoiding his attacks, and finally noticed his marionette strings and remembered what to do: use the Boomerang to cut the strings, and hit the pretty turquoise ball hanging off the end of the puppet's tail with Light Arrows.

I missed a lot. I may have had to drink the Blue Potion I brought along. Anyway, eventually I managed to hit the ball three times, and the puppet turned into a giant Ganondorf Spider that kept diving onto the floor trying to flatten me. Again, I couldn't remember what to do, and a bunch of Keese kept attacking me, which was incredibly irritating. Finally I remembered the significance of the shiny reflective water on the floor and realized I was supposed to zoom out with the camera, watch for the spider's turquoise-ball abdomen, wait for the spider to come down, position myself accordingly, and shoot it with more Light Arrows. Cool!

More wasted magic later, I finally hit the ball three times and made the Ganondorf Spider transform into a Ganondorf Snake, with the turquoise ball forming the end of its tail. I could actually remember what to do for this guy, probably because it was so hard the previous times I did it! I had to hit Ganon-Snake in the face with my sword. It would then stop moving for about two seconds, giving me not nearly enough time to get out my bow, aim, and shoot plenty of time to get out my bow, aim, and shoot. This didn't take me nearly as long as it did on previous playthroughs, though, which was cool because by the end of it I was about ready to throw the controller through the TV.

Anyway, after I vanquished Snake-Ganon, the real Ganon reappeared on the giant chandelier at the top of the giant room we were in, with Zelda in his clutches. He threw a few parting insults at me and then took off. I had to climb the rope hanging from the chandelier (about 100 feet in the air) and then make my way up the levels of the chandelier (another 50 feet) and then Hookshot my way out the exit at the very top of the room (another 50 feet or so). Falling from this height would be...not fun at all.

Finally I made my way onto the top of Ganon's Tower. Ganon greeted me by talking about the killer wind in his home country, the Gerudo Desert. Link is clearly having trouble understanding this. Probably because he has no idea what a desert is.


Finally he took a break from talking and beat me up for funsies. Child abuser.


Then he went back to monologuing about how the first person to touch the complete Triforce gets their wishes granted and...


Ohhhhh, snap.

It's the King of Red Lions! And you just got told.


Clearly Ganondorf has never read the Evil Overlord List, which states that an evil overlord should never waste time telling the hero his evil plan before killing him instead of just finishing him off and being done with it.

So, while Ganondorf facepalmed in anguish and then went completely insane (finally!), the King of Red Lions wished for a future for Link and Zelda, and maybe something else too...Oh yeah, hope. Anyway, then he disappeared somewhere after telling the gods to flood the land, and it was time for the ultimate showdown.


Zelda, that slacker, managed to wake up from being unconscious just in time to give me back the Master Sword while making a lame joke about oversleeping. Then she stole my bow somehow. What, did she rummage through all my stuff while the camera was focusing on Ganondorf and the King? Sigh...

Having stolen my bow, Zelda took charge of the Light Arrows while I swordfought Ganondorf, blades clashing and being all cool and stuff. At first Zelda just shot Light Arrows at Ganondorf, but after the second one hit him, he went over and beat her up a little bit before focusing on me again. After she woke up two seconds later (he beat her up right into a convenient waterfall), she decided the best plan of action is to shoot Light Arrows at me while I use the Mirror Shield to reflect them at Ganondorf. Well...okay. That kind of worked, although it took forever. I had to stand there keeping Ganondorf busy while Zelda slowly aimed at me, and then keep my shield raised so the arrow could reflect off it and hit Ganondorf. Fortunately, I only had to do it twice, and then...SWORD TO THE HEAD!


He totally didn't see that coming. Being insane, he just babbled something about the wind again, and laughed. Then he turned into stone!


Then the King of Red Lions showed up again (where was he during the fight?) and basically told us we needed to get out before the whole area fills with water.


Zelda tried to convince him to come with us, but he declined, saying the new world is for us. Well, she's just saying, we could use a leader....well, whatever. Die with your dead world then, jerk!

After saying our tearful goodbyes, Zelda and I floated to the surface and were greeted by the pirate ship and the rest of Tetra's pirates. By this time, Zelda had magically transformed back into Tetra. That's an interesting power she has.

In the heartwarming second-to-last scene, everyone on the pirate ship, including all of the pirates, Makar, Medli, Prince Komali and Aryll (hey, look who finally decided to show up!), waved happily at Tetra and me as we both just treaded water, completely ignoring the fact that Ganondorf just said no one can swim in the magical fishless sea. It's so heartwarming!

And...credits! I was always kind of disappointed that the credits are just a bunch of bubbles with pictures of all the characters, instead of something like the Ocarina of Time credits, which were really cool. Oh, and some of the bubble pictures repeat. I never noticed that before.

Here's a video for you, because the video I took of the ending scene was too long.


In the ending scene, Tetra and her crew sailed off with Link to find a new home. While everybody else was on Tetra's pirate ship, Link of course sailed in the King of Red Lions, which, sadly, was now just a boat. Everyone on the island waved goodbye, and the heartwarming music played, and everyone was sad because the game was ending. Even I was sad. Ah, nostalgia.

And...I'm now done with the first game on my list. Final time: 21 hours played and one death.

Actually, I'm not done, because I still want to complete the Nintendo Gallery. Well, I'm almost done. But I PROMISE my next post will be about Twilight Princess. You have my word.

Until next time, heroes!

Tuesday, July 19, 2011

Wind Waker Chapter 9: GET ON WITH IT!

I've spent the last few days deliberating over whether I should try to collect all the Treasure Charts (for maximum fun and profit) or just get all the Triforce Chunks and move on.

Eventually, I was reminded of this and decided to just get all the Triforce Chunks and be done.

So I sailed around for a while, occasionally dredging up a shard, just kinda looking around and looking for more Treasure Charts. Along the way, I happened to stop at Windfall Island and play the Battleship minigame.


I forgot about all the funny sound effects this guy does. Anyway, purely through dumb luck, I managed to acquire a Piece of Heart, 50 rupees and two Treasure Charts through playing the minigame. The island children were so happy!


And then I remembered the whole Get On With It thing and decided to do some actual work.

This involved me teleporting and sailing all over the map, dredging up various bits of treasure, and studying all of my treasure charts to figure out where I had to go to get each shard. So, here's some pictures of my results!


Finally, the Triforce of Courage is complete! Now, to sail to Hyrule!

Well...hang on. I couldn't help but notice that I was a little low on Heart Containers (14 is kinda lacking) so I decided to dredge up the treasure from all of the Treasure Charts I found.

I found 2 Pieces of Heart. The rest of the treasure I pulled up was Silver Rupees. Where were all these things when I was scouring the seas for enough money to pay off Tingle? Seriously.


Yes, King of Red Lions. I'll have to find some more Heart Pieces next time. And beat Ganondorf.

Next post: VICTORY (hopefully)!

Thursday, July 14, 2011

Wind Waker Chapter 8: Oh, Lord. I'm So Tired. How Long Can This Go On?

http://www.youtube.com/watch?v=qsoa1wHJT2E

I've always liked that song. Blame my years of marching band.

Okay, back to our usual programming. Short post this time because I haven't had as much time to play lately.

I only had three more Triforce Charts to find, and I decided to head to Outset Island first because the Internets told me I heard a rumor about some hidden rupees there. The rumor said to look around Grandma's house to find an entrance to a hidden basement. So I checked things out - and found said basement, complete with a chest containing 100 rupees. I hope this wasn't Grandma's savings for when she goes to the old folks' home, or something.

After I found the 100 rupees, I headed up to the top part of the island so I could go to the Cave of Trials or whatever it's called.


That's the Headstone blocking the entrance. Those things are big! Anyway, 30 floors (I think) and a lot of Rupees later, I got my next Triforce Chart! I tried to press on, but eventually ran out of hearts on floor 45 (I think). That's...disappointingly close to the end. I'll have to try that again later.

Next I went to Needle Rock Island. Those dastardly Internets told me about a Triforce Chart I'd forgotten about. It was being held hostage by one of those devious gunboats.


I'm not sure why I went all the way to the island, since the actual gunboats I was looking for were like a mile in the other direction, but whatever. Gunboat sunk, chart acquired. I also dredged up another Heart Piece from the briny deep.

After I was done hauling up treasures, I decided to go to the Forest Haven to take some pictures to the Nintendo Gallery. It was nighttime by the time I got there though, and against my better judgement, I decided to check the Sea Chart and see where the Ghost Ship was hanging out. Bad news - it was at Bomb Island, one square north of the Forest Haven. I heaved a sigh and sailed up there, preparing myself to do battle with some ghosts.

Stupidly, I didn't take any pictures of my Ghost Ship adventure. But I did find this:


Not my picture. I don't know if you can really see it, but that face had a really creepy toothy grin on it when you looked at it from far away. As you got closer the teeth disappeared and it was just a guy again. That is some nightmare fuel right there. CREEPY!

Once I got over the creepiness, I looted the Triforce Chart. The last thing I heard before I blacked out was a creepy laugh, and then everything went dark...

...and I woke up on the King of Red Lions. Weird.

Because the experience I just described wasn't creepy enough, I decided to go to my oasis to find the next Triforce Chart. You wouldn't think this would be all that creepy of a thing, but then, I did have to kill two ReDeads before I could get to the room with the Triforce Chart. Have I mentioned I hate those things? Because I do.

I'd already visited the maze underneath the cabana and wandered my way through most of it, but not quite all (I couldn't quite handle the thought of encountering more ReDeads at 2:30 a.m.) so I left. But this time...I was getting it done!


Moral of the story: The only good ReDead is a dead ReDead. Dead. Dead dead dead. Yay! I promptly fled the maze, because I hate that place.

On the way out, I stopped to take a bath so I could wash off the layer of grime I'd accumulated in the underground maze. But...the weird butler was creeping me out, so I just left.


After leaving my sweet cabana, I decided to go kill a Big Octo, just to purge the weirdness once and for all. I don't remember how many eyes it had (I think nine?) but it died rather easily. I managed to fish up an Orange Rupee (100 rupees) after it sank beneath the waves.

The bodies of these massive creatures may disappear quickly and cleanly in this game, but I have to wonder if they wash up on shores of nearby islands later on. Am I going to find a massive rotting Big Octo corpse on the shore of my private island tomorrow? That's gonna be one expensive cleanup...

Next destination: Tingle Island to get my charts deciphered! Yay for spending my hard-earned Rupees!


I love Tingle's pose in the background. He's happy too! Probably thinking about the awesome vacation he gets to go on with all the rupees he's getting from me.

I have all of the Triforce Charts now, but one of them still needs to be deciphered. But that's going to have to happen another day. Until then...have fun waiting for this whole timesink to be over!

I leave you with this gem courtesy of late-night TV...

http://www.youtube.com/watch?v=WYS5NtRXlZQ

Tuesday, July 12, 2011

Wind Waker Chapter 7: Money, Money, Money

In the continuing saga of the Great Rupee Hunt...

I was on Windfall Island again when I turned the game on, but I can't remember why I went back there after I was done playing yesterday. This time I decided to travel west, as I hadn't yet visited the square immediately west of Windfall Island. It turned out to be...Spectacle Island!


Good to see that guy from Windfall Island is there, looking just as unenthused as usual. I don't think I've ever paid this island more than a cursory visit, and this visit was no different - the sun was going down as I was making my way up the little building there, and by the time I got to the guy, the sun had gone down and he'd fallen asleep. Whatever, dude. If you really wanted to get some of my Rupees, you should have stayed awake.

Next on the agenda was Star Island, located in the square northwest of Spectacle Island. I bombed a rock (novel idea!) and found a cave full of monsters! They all attacked me at once though, unlike a similar cave I found yesterday where they attacked in waves. I'm talking Wizzrobes, Darknuts, Moblins, Miniblins, Keese, Bokoblins, the whole bunch. After a long, drawn-out fight, I vanquished the last enemy and got... a Piece of Heart for my troubles. I was kind of hoping for a Silver Rupee. Nothing like getting life upgrades when what you really need is Rupee upgrades!

After picking up my Heart Piece (and crying on the inside) I headed out to my next destination - Four-Eye Reef, in the square southwest of Star Island.


I am not really a fan of these reefs. They're all the same - bland squares of rock containing rock "eyes", loaded to the gills with turrets trying to kill you, often hiding treasures within...which is why I had to clear all the enemies out of this one, because a beam of light projecting to the heavens means there's treasure to be hauled up. I know, I know, I should really clear all of the reefs, because I'm guessing they all give you Treasure Charts, which leads to more treasure, which leads to more Rupees - but part of my soul dies every time I think about actually clearing them all.

And the treasure waiting to be dredged up at this reef? The Great Fairy Chart. Really? That would have been useful, oh, anytime before I already visited all of the Great Fairies. I did manage to haul up some other (piddling) treasures from the depths there; 20 rupees here, 50 rupees there. Plus I picked up a Treasure Chart after I cleared all the enemies. More charts, more rupees, etc. etc.

After Four-Eye Reef was all played out, I was done in this part of the Great Sea, so I decided to warp to Dragon Roost Island and check out the square south of it - which turned out to be Fire Island.


It looks so sad, sitting there all solved, no fire and lava spewing out of the top since I've already plumbed its depths and looted its treasures. Hey, look, it's the Fishman. Let's see what he has to say! Oh, wait. He talks about fire and lava spewing out of the island, and how I'd need an item that can freeze things to get inside. Thanks, Fishman. I really needed that information. I realize this is partially my fault for not talking to the Fishman before, but whatever. They should really update that. All he'd have to do is talk about how he thinks there's treasure hidden in the water somewhere around the island, which there was - I pulled up a chest containing 200 rupees! Success!

After Fire Mountain, I warped to the Forest Haven so I could visit the square directly east of it - Cliff Plateau Isles.


The above picture is from the cave inside Cliff Plateau Isles. It was an interesting cave, I guess. I found a chest containing a worthless Joy Pendant (Let the joy flock to you like butterflies to nectar-filled blossoms!) and an exit to the cave that led to a chest containing a Treasure Chart. Not bad, I guess.

Next on the agenda was south, to the very bottom corner square. This heretofore-undiscovered square held...Five-Star Isles.


I know I should have put in a picture of the aforementioned Isles, but, as usual with these places, there was nothing there except Kargarocs. The Fishman was all like, "Blah blah Ghost Ship blah blah." I'm not sure if there's even a Big Octo here. But I did manage to find the submarine pictured above! After defeating the enemies inside, I got another Heart Piece.

After I was done with the submarine, it was time to warp to Tower of the Gods and sail west to clear out the unexplored squares in the middle of the map. Turns out the square directly west of Tower of the Gods contains Six-Eye Reef.

I forgot to take a picture of Six-Eye Reef. But since the reefs all look the same, just refer to the picture of Four-Eye Reef above.

To my immediate relief, there were no indications that the reef contained any treasure to be found (for now) so I moved on...and found another Submarine! Rinse and repeat. I even got another Heart Piece, which completed my next Heart Container.

Continuing west from Six-Eye Reef, I encountered Cyclops Reef. You know the drill - it looks like Four-Eye Reef, except with less eyes. I found nothing at this reef other than flying fish that kept trying to kill me. So I sailed south - to Stone Watcher Island.


The Fishman talked about the Triumph Forks again when I got to this island, so I had to stop. I should be amazed that there was actually some content on this island. I completely forgot to take a picture of the aforementioned Stone Watcher before I picked it up and destroyed it, but that's a picture of the cave I uncovered. The cave inside was similar to one I encountered yesterday - circular room, other rooms off the circular room, clear them all to get the Triforce Chart - except it was a lot easier than yesterday's cave. I'm not complaining, though! I got me another Triforce Chart! Oh, crap, that means I have to have it translated.

After I was done getting the Triforce Chart, I happened to notice a beam of light shining to the heavens in the water near the island. Intrigued, I dredged up the resulting treasure box, hoping it would be another Silver Rupee...only to find it was a Triforce Shard. Drat. I mean, yay!

Speaking of the Triforce Shard, I think it would be cool to start a band and call it Triforce Chunk, or something to that effect. That's not nerdy at all!

After I was done admiring my Triforce Chunk Shard, I sailed southward to Shark Island.


On this lovely island, I had to hit four different switches within the time limit to make the flames go away. Strangely enough, after I hit the last switch, not only did the flames go away but an updraft cyclone thing appeared out in the water. After I left the cave, it was gone. Weird. Oh yeah, I should talk about the interior of the island. There were a lot of enemies to kill...and after it was done, I got a chest containing a Silver Rupee! And there was much rejoicing.

After Shark Island, it was time to sail northeast to Southern Triangle Island. There was nothing there, but I was expecting this, because I'd already been there to place a pearl on the statue ages ago. I should probably complain about the lack of content here. Blah blah, no content, phoning it in, shameless cash grab rushed development cycle blah blah. Wait, there is some content here! Those really, really annoying flying fish that always try to kill me!

After I was done with Southern Triangle Island, I only had two undiscovered squares left, both in the bottom left corner of the map. So I warped to Outset Island (right before getting rammed by another flying fish) and sailed west to Horseshoe Island.


I can imagine what the developers were thinking for this island. "We need some content for this place!" "What can we rip off here that hasn't already been done?" "I know - golf!" Ugh. I suppose golf would be more entertaining in real-life if if it featured vines that pop up and impede your golf ball's progress like the ones on this island, but I still don't think I'd want to play it. I attempted to solve the golf puzzle on this island, but quickly got frustrated and moved on. What can I say? I've never liked golf.

I did manage to fish up a Treasure Chest containing another Silver Rupee, though, so the island wasn't a total loss.

So as it turned out, the final square I visit was... Diamond Steppe Isle.


I had to use the Hookshot on the trees to travel upward to the multiple levels of the island. On the top level was a hole in the ground leading to a cave! But it wasn't just any cave. It was a ship graveyard. Containing lots of Warp Jars. And at least 15 Floormasters. I fought the urge to turn around and leave, pressed onward and confronted one of the Floormasters. It caught me and dragged me to the entrance of the cave. I again fought the urge to leave and confronted the same Floormaster again. It promptly caught me and dragged me to the entrance of the cave again.

The rest of the cave is pretty much a blur of swords slashing, arrows shooting, Floormasters dying and Warp Jar-jumping. Somehow I made it to the chest containing the ship graveyard's treasure with a minimum of ineptitude. I opened the chest and...voila! The Ghost Ship Chart! Now I'll be able to board the Ghost Ship and...why did I want this again?

I'll have to save my Ghost Ship adventures for another day. But I did pay a quick visit to the Special Shop Ship at Rock Spire Island. Beedle had a Treasure Chart for sale for 900 rupees, and I wanted to buy it before the Special Shop Ship closed shop. He also had a Heart Piece for sale, but I didn't have enough Rupees for both and not enough time to get all the Rupees I needed before the shop closed. So Treasure Chart it was.

That pretty much wraps things up for this post. I only found one more Triforce Chart on this venture, but by some miracle, I know where the others are. I'll have to locate those tomorrow, along with a lot more Rupees. Sigh.