I was on Windfall Island again when I turned the game on, but I can't remember why I went back there after I was done playing yesterday. This time I decided to travel west, as I hadn't yet visited the square immediately west of Windfall Island. It turned out to be...Spectacle Island!
Good to see that guy from Windfall Island is there, looking just as unenthused as usual. I don't think I've ever paid this island more than a cursory visit, and this visit was no different - the sun was going down as I was making my way up the little building there, and by the time I got to the guy, the sun had gone down and he'd fallen asleep. Whatever, dude. If you really wanted to get some of my Rupees, you should have stayed awake.
Next on the agenda was Star Island, located in the square northwest of Spectacle Island. I bombed a rock (novel idea!) and found a cave full of monsters! They all attacked me at once though, unlike a similar cave I found yesterday where they attacked in waves. I'm talking Wizzrobes, Darknuts, Moblins, Miniblins, Keese, Bokoblins, the whole bunch. After a long, drawn-out fight, I vanquished the last enemy and got... a Piece of Heart for my troubles. I was kind of hoping for a Silver Rupee. Nothing like getting life upgrades when what you really need is Rupee upgrades!
After picking up my Heart Piece (and crying on the inside) I headed out to my next destination - Four-Eye Reef, in the square southwest of Star Island.

I am not really a fan of these reefs. They're all the same - bland squares of rock containing rock "eyes", loaded to the gills with turrets trying to kill you, often hiding treasures within...which is why I had to clear all the enemies out of this one, because a beam of light projecting to the heavens means there's treasure to be hauled up. I know, I know, I should really clear all of the reefs, because I'm guessing they all give you Treasure Charts, which leads to more treasure, which leads to more Rupees - but part of my soul dies every time I think about actually clearing them all.
And the treasure waiting to be dredged up at this reef? The Great Fairy Chart. Really? That would have been useful, oh, anytime before I already visited all of the Great Fairies. I did manage to haul up some other (piddling) treasures from the depths there; 20 rupees here, 50 rupees there. Plus I picked up a Treasure Chart after I cleared all the enemies. More charts, more rupees, etc. etc.
After Four-Eye Reef was all played out, I was done in this part of the Great Sea, so I decided to warp to Dragon Roost Island and check out the square south of it - which turned out to be Fire Island.

It looks so sad, sitting there all solved, no fire and lava spewing out of the top since I've already plumbed its depths and looted its treasures. Hey, look, it's the Fishman. Let's see what he has to say! Oh, wait. He talks about fire and lava spewing out of the island, and how I'd need an item that can freeze things to get inside. Thanks, Fishman. I really needed that information. I realize this is partially my fault for not talking to the Fishman before, but whatever. They should really update that. All he'd have to do is talk about how he thinks there's treasure hidden in the water somewhere around the island, which there was - I pulled up a chest containing 200 rupees! Success!
After Fire Mountain, I warped to the Forest Haven so I could visit the square directly east of it - Cliff Plateau Isles.

The above picture is from the cave inside Cliff Plateau Isles. It was an interesting cave, I guess. I found a chest containing a worthless Joy Pendant (Let the joy flock to you like butterflies to nectar-filled blossoms!) and an exit to the cave that led to a chest containing a Treasure Chart. Not bad, I guess.
Next on the agenda was south, to the very bottom corner square. This heretofore-undiscovered square held...Five-Star Isles.

I know I should have put in a picture of the aforementioned Isles, but, as usual with these places, there was nothing there except Kargarocs. The Fishman was all like, "Blah blah Ghost Ship blah blah." I'm not sure if there's even a Big Octo here. But I did manage to find the submarine pictured above! After defeating the enemies inside, I got another Heart Piece.
After I was done with the submarine, it was time to warp to Tower of the Gods and sail west to clear out the unexplored squares in the middle of the map. Turns out the square directly west of Tower of the Gods contains Six-Eye Reef.
I forgot to take a picture of Six-Eye Reef. But since the reefs all look the same, just refer to the picture of Four-Eye Reef above.
To my immediate relief, there were no indications that the reef contained any treasure to be found (for now) so I moved on...and found another Submarine! Rinse and repeat. I even got another Heart Piece, which completed my next Heart Container.
Continuing west from Six-Eye Reef, I encountered Cyclops Reef. You know the drill - it looks like Four-Eye Reef, except with less eyes. I found nothing at this reef other than flying fish that kept trying to kill me. So I sailed south - to Stone Watcher Island.

The Fishman talked about the Triumph Forks again when I got to this island, so I had to stop. I should be amazed that there was actually some content on this island. I completely forgot to take a picture of the aforementioned Stone Watcher before I picked it up and destroyed it, but that's a picture of the cave I uncovered. The cave inside was similar to one I encountered yesterday - circular room, other rooms off the circular room, clear them all to get the Triforce Chart - except it was a lot easier than yesterday's cave. I'm not complaining, though! I got me another Triforce Chart! Oh, crap, that means I have to have it translated.
After I was done getting the Triforce Chart, I happened to notice a beam of light shining to the heavens in the water near the island. Intrigued, I dredged up the resulting treasure box, hoping it would be another Silver Rupee...only to find it was a Triforce Shard. Drat. I mean, yay!
Speaking of the Triforce Shard, I think it would be cool to start a band and call it Triforce Chunk, or something to that effect. That's not nerdy at all!
After I was done admiring my Triforce

On this lovely island, I had to hit four different switches within the time limit to make the flames go away. Strangely enough, after I hit the last switch, not only did the flames go away but an updraft cyclone thing appeared out in the water. After I left the cave, it was gone. Weird. Oh yeah, I should talk about the interior of the island. There were a lot of enemies to kill...and after it was done, I got a chest containing a Silver Rupee! And there was much rejoicing.
After Shark Island, it was time to sail northeast to Southern Triangle Island. There was nothing there, but I was expecting this, because I'd already been there to place a pearl on the statue ages ago. I should probably complain about the lack of content here. Blah blah, no content, phoning it in,
After I was done with Southern Triangle Island, I only had two undiscovered squares left, both in the bottom left corner of the map. So I warped to Outset Island (right before getting rammed by another flying fish) and sailed west to Horseshoe Island.

I can imagine what the developers were thinking for this island. "We need some content for this place!" "What can we rip off here that hasn't already been done?" "I know - golf!" Ugh. I suppose golf would be more entertaining in real-life if if it featured vines that pop up and impede your golf ball's progress like the ones on this island, but I still don't think I'd want to play it. I attempted to solve the golf puzzle on this island, but quickly got frustrated and moved on. What can I say? I've never liked golf.
I did manage to fish up a Treasure Chest containing another Silver Rupee, though, so the island wasn't a total loss.
So as it turned out, the final square I visit was... Diamond Steppe Isle.

I had to use the Hookshot on the trees to travel upward to the multiple levels of the island. On the top level was a hole in the ground leading to a cave! But it wasn't just any cave. It was a ship graveyard. Containing lots of Warp Jars. And at least 15 Floormasters. I fought the urge to turn around and leave, pressed onward and confronted one of the Floormasters. It caught me and dragged me to the entrance of the cave. I again fought the urge to leave and confronted the same Floormaster again. It promptly caught me and dragged me to the entrance of the cave again.
The rest of the cave is pretty much a blur of swords slashing, arrows shooting, Floormasters dying and Warp Jar-jumping. Somehow I made it to the chest containing the ship graveyard's treasure with a minimum of ineptitude. I opened the chest and...voila! The Ghost Ship Chart! Now I'll be able to board the Ghost Ship and...why did I want this again?
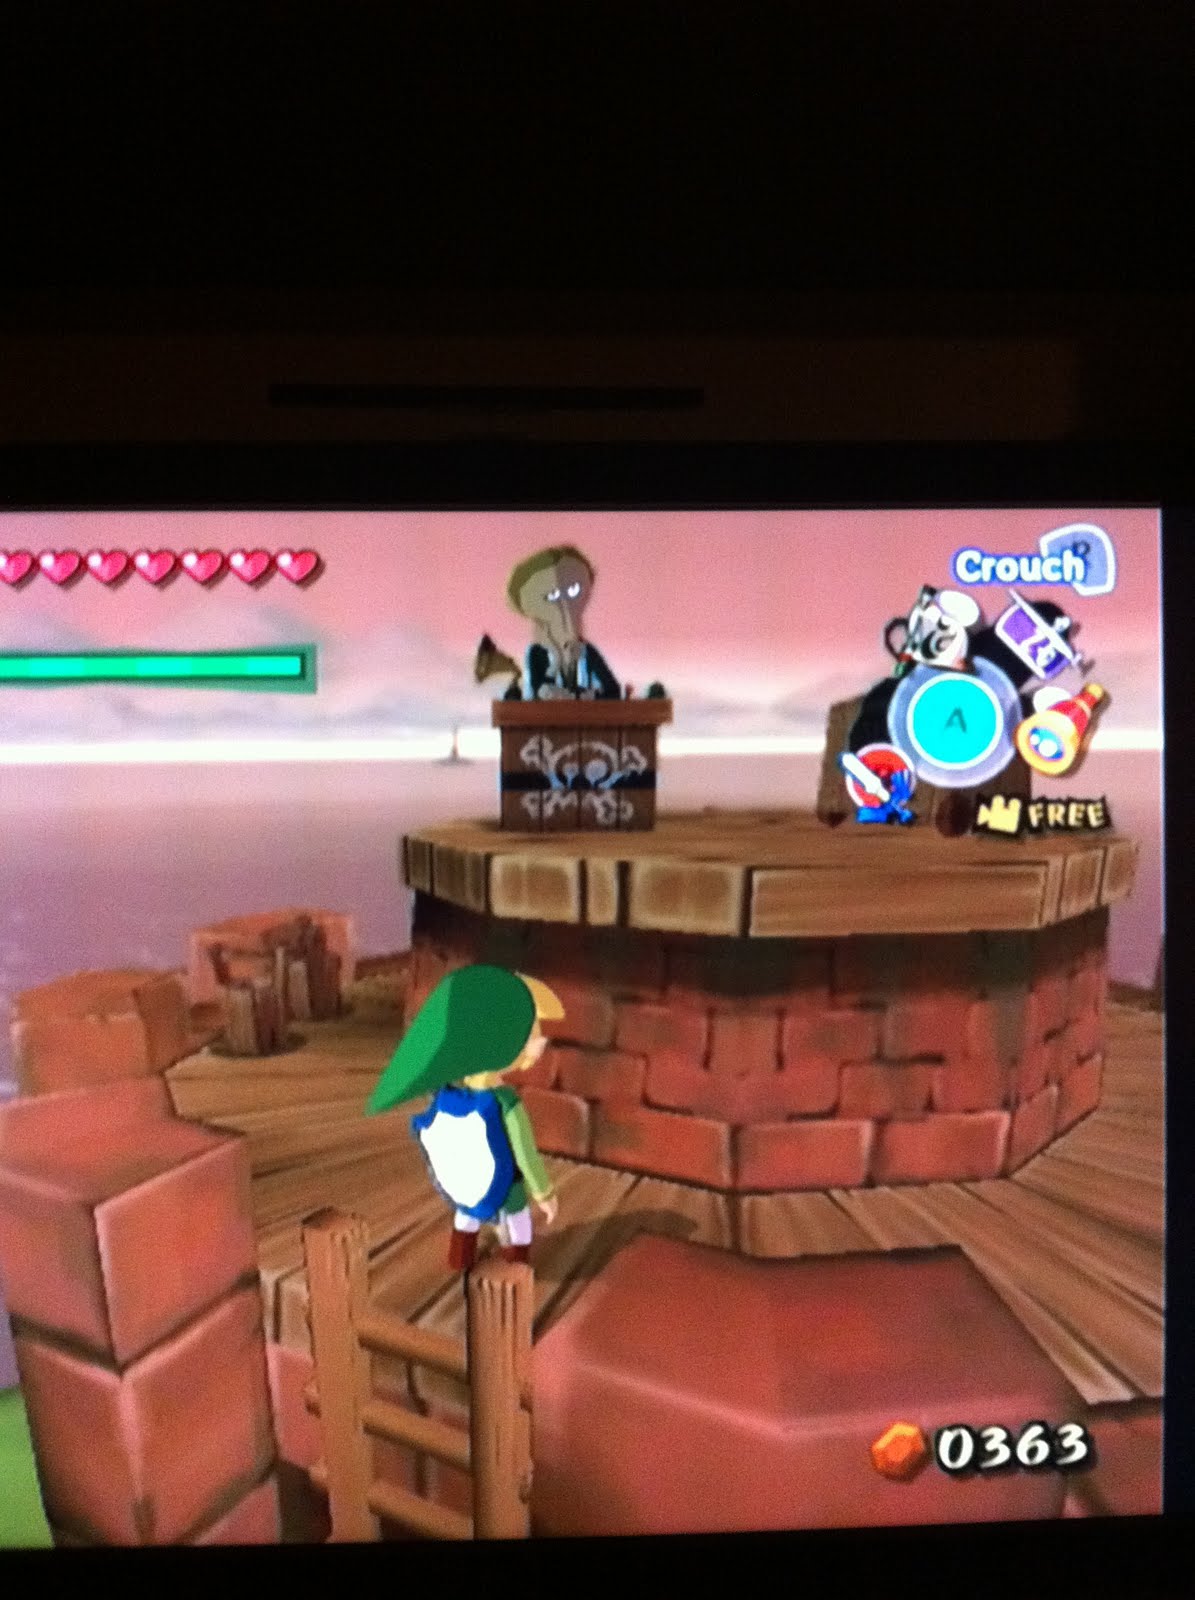
I'll have to save my Ghost Ship adventures for another day. But I did pay a quick visit to the Special Shop Ship at Rock Spire Island. Beedle had a Treasure Chart for sale for 900 rupees, and I wanted to buy it before the Special Shop Ship closed shop. He also had a Heart Piece for sale, but I didn't have enough Rupees for both and not enough time to get all the Rupees I needed before the shop closed. So Treasure Chart it was.
That pretty much wraps things up for this post. I only found one more Triforce Chart on this venture, but by some miracle, I know where the others are. I'll have to locate those tomorrow, along with a lot more Rupees. Sigh.

No comments:
Post a Comment